






平时做技术实践时,很多问题不是概念不会,而是细节没串起来。拿“基于ChatGPT+SpringBoot实现方式智能聊天AI机器人接口并……”来说,它看着像小点,放到项目里常会牵出环境、配置、兼容性和维护成本。下面按实际使用顺序,把思路、关键写法和容易踩坑的地方讲清楚,方便你直接对照操作。
ChatGPT是最近很热门的AI智能聊天机器人
本文采用SpringBoot+OpenAI的官方API接口,自己实现一个可以得到对话数据的接口并上线服务器
在这个场景下,用途方面相比于普通的聊天AI更加的广泛,甚至可以帮助你改BUG,写代码!!!
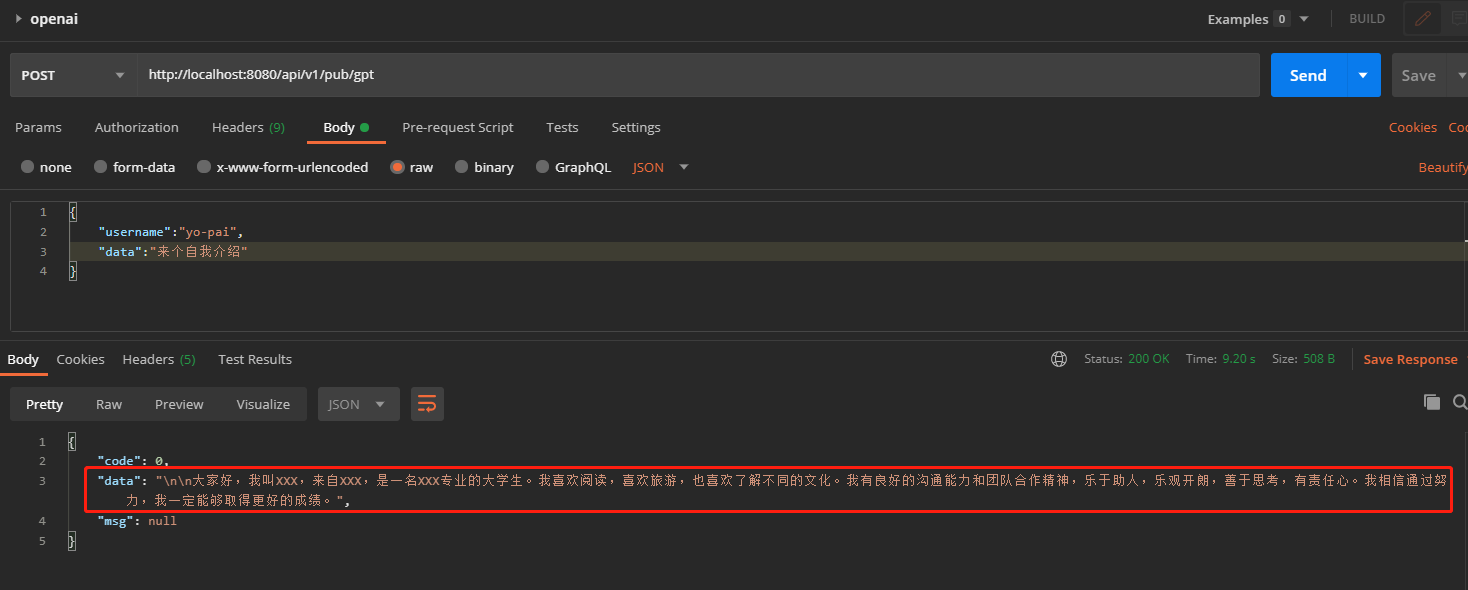
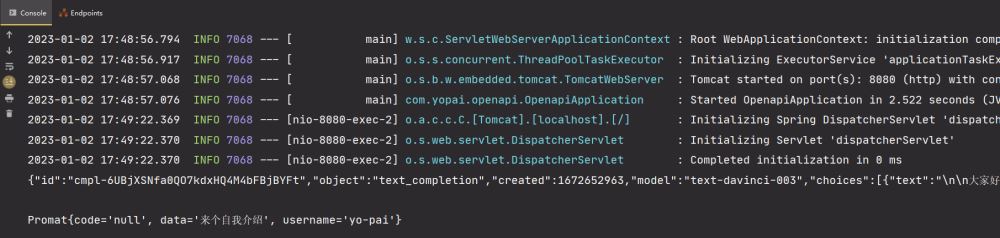
最后接口效果演示
ChatGPT介绍
结合项目来看,ChatGPT是一款基于自然语言处理技术的聊天机器人。它采用受控语料库,同时采用最先进的深度学习技术来学习用户的输入,以便以最相似的方式回应。ChatGPT可以模拟真实的人类对话,并能够更贴近用户的需求,提供更有价值的服务。
SpringBoot介绍
落到代码里,Spring Boot是由Pivotal团队提供的全新框架,其设计目的是用来简化新Spring应用的初始搭建以及开发过程。该框架采用了特定的方式来进行设置,从而使开发人员不再需定义样板化的设置。借助这种方式,Spring Boot致力于在蓬勃发展的更快应用开发领域(rapid application development)成为一个重要的先驱。
实际处理时,Spring Boot为Spring应用提供了一种更快的起步方式,可用来新建独立的,生产级的基于Spring的应用程序。它提供了一种更快捷的方式来新建Spring应用,同时且不需任何XML设置。Spring Boot提供了可选择的高级特性,如持久层技术和安全性,可以让你更快构建令人满意的web应用程序和服务。
构建SpringBoot项目
项目主要采用的maven依赖如下所示,借助Maven构建项目即可
<parent>
        <groupId>org.springframework.boot</groupId>
        <artifactId>spring-boot-starter-parent</artifactId>
        <version>2.4.4</version>
        <relativePath/> <!-- lookup parent from repository -->
    </parent>
    <groupId>com.yopai</groupId>
    <artifactId>openapi</artifactId>
    <version>0.0.1-SNAPSHOT</version>
    <name>openapi</name>
    <description>Demo project for Spring Boot</description>
    <properties>
        <java.version>1.8</java.version>
    </properties>
    <dependencies>
        <dependency>
            <groupId>org.springframework.boot</groupId>
            <artifactId>spring-boot-starter-web</artifactId>
        </dependency>

        <dependency>
            <groupId>org.springframework.boot</groupId>
            <artifactId>spring-boot-starter-test</artifactId>
            <scope>test</scope>
        </dependency>
        <dependency>
            <groupId>com.alibaba</groupId>
            <artifactId>fastjson</artifactId>
            <version>2.0.21</version>
        </dependency>
Post请求解析
实际处理时,RestTemplate是Spring框架的一个用来访问RESTful服务的客户端库,它提供了一组轻松的、可扩展的方法来访问RESTful服务。它可以访问HTTP服务,同时以字符串、Java对象或多种格式的数据(如JSON)进行序列化和反序列化。RestTemplate兼容多种HTTP方法,如GET、POST、PUT、DELETE等,可以用来访问RESTful服务,并拿到服务器得到的结果。
 public static String sendPost(String data) {
        RestTemplate client = new RestTemplate();
        HttpHeaders httpHeaders = new HttpHeaders();
        httpHeaders.add("Authorization","Bearer <YourAPI>");
        httpHeaders.add("Content-Type", "application/json"); // 传递请求体时必须设置
//        String requestJson = "{n" +
//                "    "model": "text-davinci-003",n" +
//                "     "prompt": "你好",n" +
//                "      "temperature": 0, n" +
//                "      "max_tokens": 2048n" +
//                "}";
        String requestJson = String.format(
                "{n" +
                        "    "model": "text-davinci-003",n" +
                        "     "prompt": "%s",n" +
                        "      "temperature": 0, n" +
                        "      "max_tokens": 2048n" +
                        "}",data
        );
        HttpEntity<String> entity = new HttpEntity<String>(requestJson,httpHeaders);
        ResponseEntity<String> response = client.exchange("https://api.openai.com/v1/completions", HttpMethod.POST, entity, String.class);
        System.out.println(response.getBody());
        JSONObject jsonObject = JSONObject.parseObject(response.getBody());
        JSONArray choices = jsonObject.getJSONArray("choices");
        String text = choices.getJSONObject(0).getString("text");
//        Object o = jsonObject.get(""choices"");
        return text;
    }
接口控制类
    @PostMapping("gpt")
    public JsonData get(@RequestBody Promat promat){
        String text = HttpGPT.sendPost(promat.getData());
        System.out.println(promat);
        JsonData jsonData = JsonData.bulidSuccess(text);
        return jsonData;
    }
打包发布接口到服务器
借助IDEA将项目进行打包后上传到服务器,运行以下命令即可完成线上部署
java -jar:运行打包好的项目
nohup:让项目在后台一直运行
之后把LocalHost修改成服务器的公网IP即可

理解这一步时,总的来说,ChatGPT SpringBoot打造智能聊天AI机器人接口这部分内容适合结合实际项目边做边理解。先抓住核心思路,再逐步补上细节和边界处理,最后效果会更稳定,也更容易复用。