


最新下载
热门教程
- 1
- 2
- 3
- 4
- 5
- 6
- 7
- 8
- 9
- 10
Android中LeakCanary检测内存泄漏的方法
时间:2022-06-25 23:19:53 编辑:袖梨 来源:一聚教程网
最近要对产品进行内存泄漏的检查,最后选择了使用Square公司开源的一个检测内存泄漏的函数库LeakCanary,在github上面搜索了一下竟然有1.6w个star,并且Android大神JakeWharton也是这个开源库的贡献者。那么就赶快拿来用吧。
先说一下我遇到的坑,我当时是直接google的,然后就直接搜索到稀土掘金的一篇关于LeakCanary的介绍,我就按照他们的文章一步步的操作,到最后才发现,他们那个build.gradle中导入的库太老了,会报这样的错误Closed Failed to resolve: com.squareup.leakcanary:leakcanary对于刚使用LeakCanary的我很是费解。
然后我就直接使用Github上的例子去引入LeakCanary https://github.com/square/leakcanary
但是又有一个问题,就是构建项目失败,在Github上面也有说明地址连接https://github.com/square/leakcanary/issues/815
好了说完这些坑之后,接下来就让我们愉快的使用LeakCanary来检测内存泄漏吧
1 导入步骤
因为不想让这样的检查在正式给用户的 release 版本中也进行,所以在 dependencies 里添加
dependencies {
  debugCompile 'com.squareup.leakcanary:leakcanary-android:1.5.1'
  releaseCompile 'com.squareup.leakcanary:leakcanary-android-no-op:1.5.1'
}
接下来,在你的应用里写一个自定义 Application ,并在其中“安装” RefWatcher
public class AppApplication extends Application {
  @Override
  public void onCreate() {
    super.onCreate();
    if (LeakCanary.isInAnalyzerProcess(this)) {
      // This process is dedicated to LeakCanary for heap analysis.
      // You should not init your app in this process.
      return;
    }
    LeakCanary.install(this);
    // Normal app init code...
  }

}
记得把它作为 android:name 配到 AndroidManifest.xml 的 Application 节点下。
上面的只能监控Activity中的内存,所以想要检测Fragment中的内存泄漏的话也是很简单只需要先在Application中保存全局的RefWatcher
public class App extends Application {
  //Application为整个应用保存全局的RefWatcher
  private RefWatcher refWatcher;

  @Override
  public void onCreate() {
    super.onCreate();
    refWatcher = LeakCanary.install(this);
  }

  public static RefWatcher getRefWatcher(Context context) {
    App application = (App) context.getApplicationContext();
    return application.refWatcher;
  }
}
还需要创建一个BaseFragment添加如下代码:
public abstract class BaseFragment extends Fragment {
  @Override
  public void onDestroy() {
    super.onDestroy();
    RefWatcher refWatcher = App.getRefWatcher(getActivity());
    refWatcher.watch(this);
  }
}
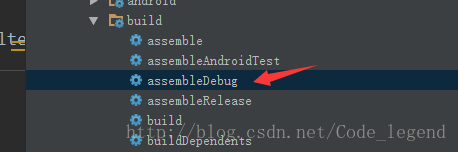
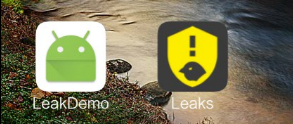
Ok,导入成功后,用Debug版打包,安装后,手机上面会自动多一个leak的应用,当有内存泄漏的时候,就会在里面显示。这里还有一个问题,就是在我的4.4的手机并不能出现那个内存泄漏的icon。
选择打包
导入成功后的icon
2 内存泄漏解决方法
下面说一下常见的几个内存泄漏的解决方法
1 单例 Context 内存泄露
这里先创建一个很简单的单例对象
public class TestHelper {
  private Context mCtx;
  private TextView mTextView;

  private static TestHelper ourInstance = null;
  private TestHelper(Context context) {
    this.mCtx = context;
  }

  public static TestHelper getInstance(Context context) {
    if (ourInstance == null) {
      ourInstance = new TestHelper(context);
    }
    return ourInstance;
  }
}
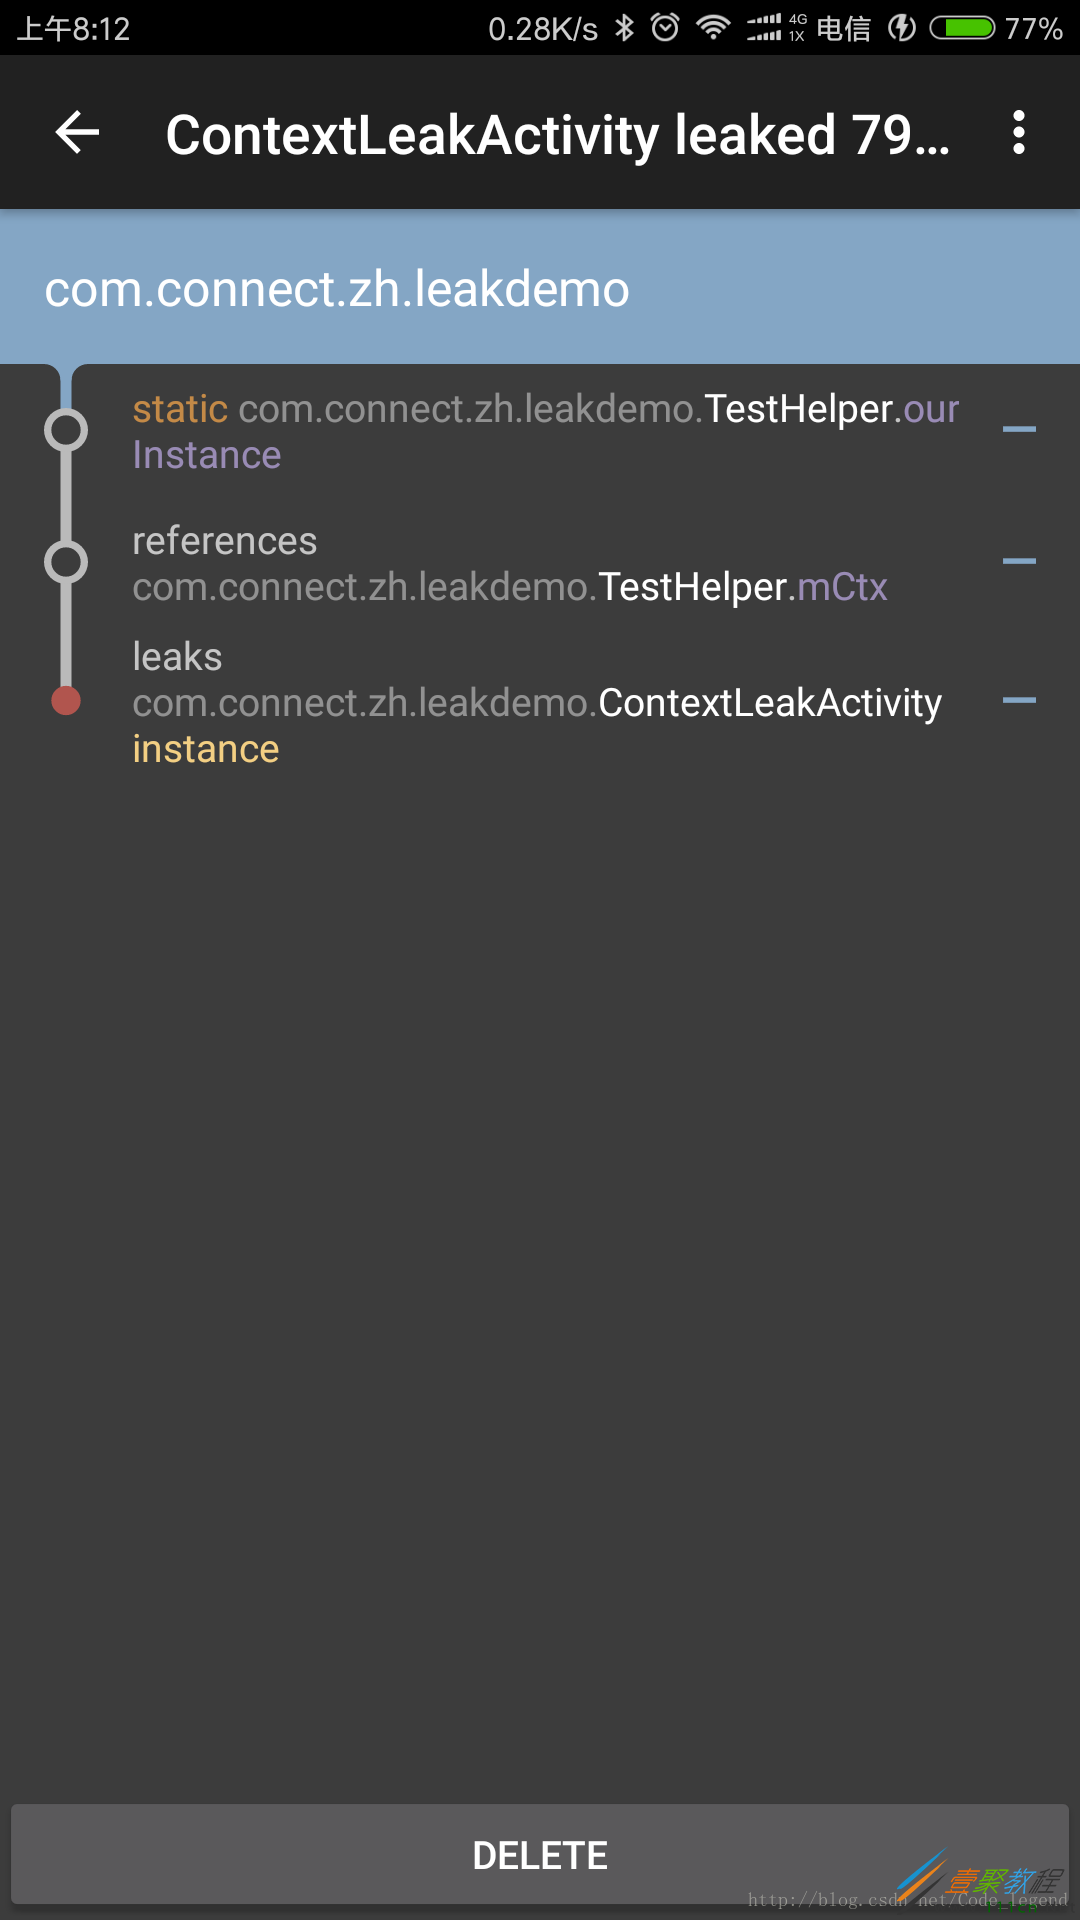
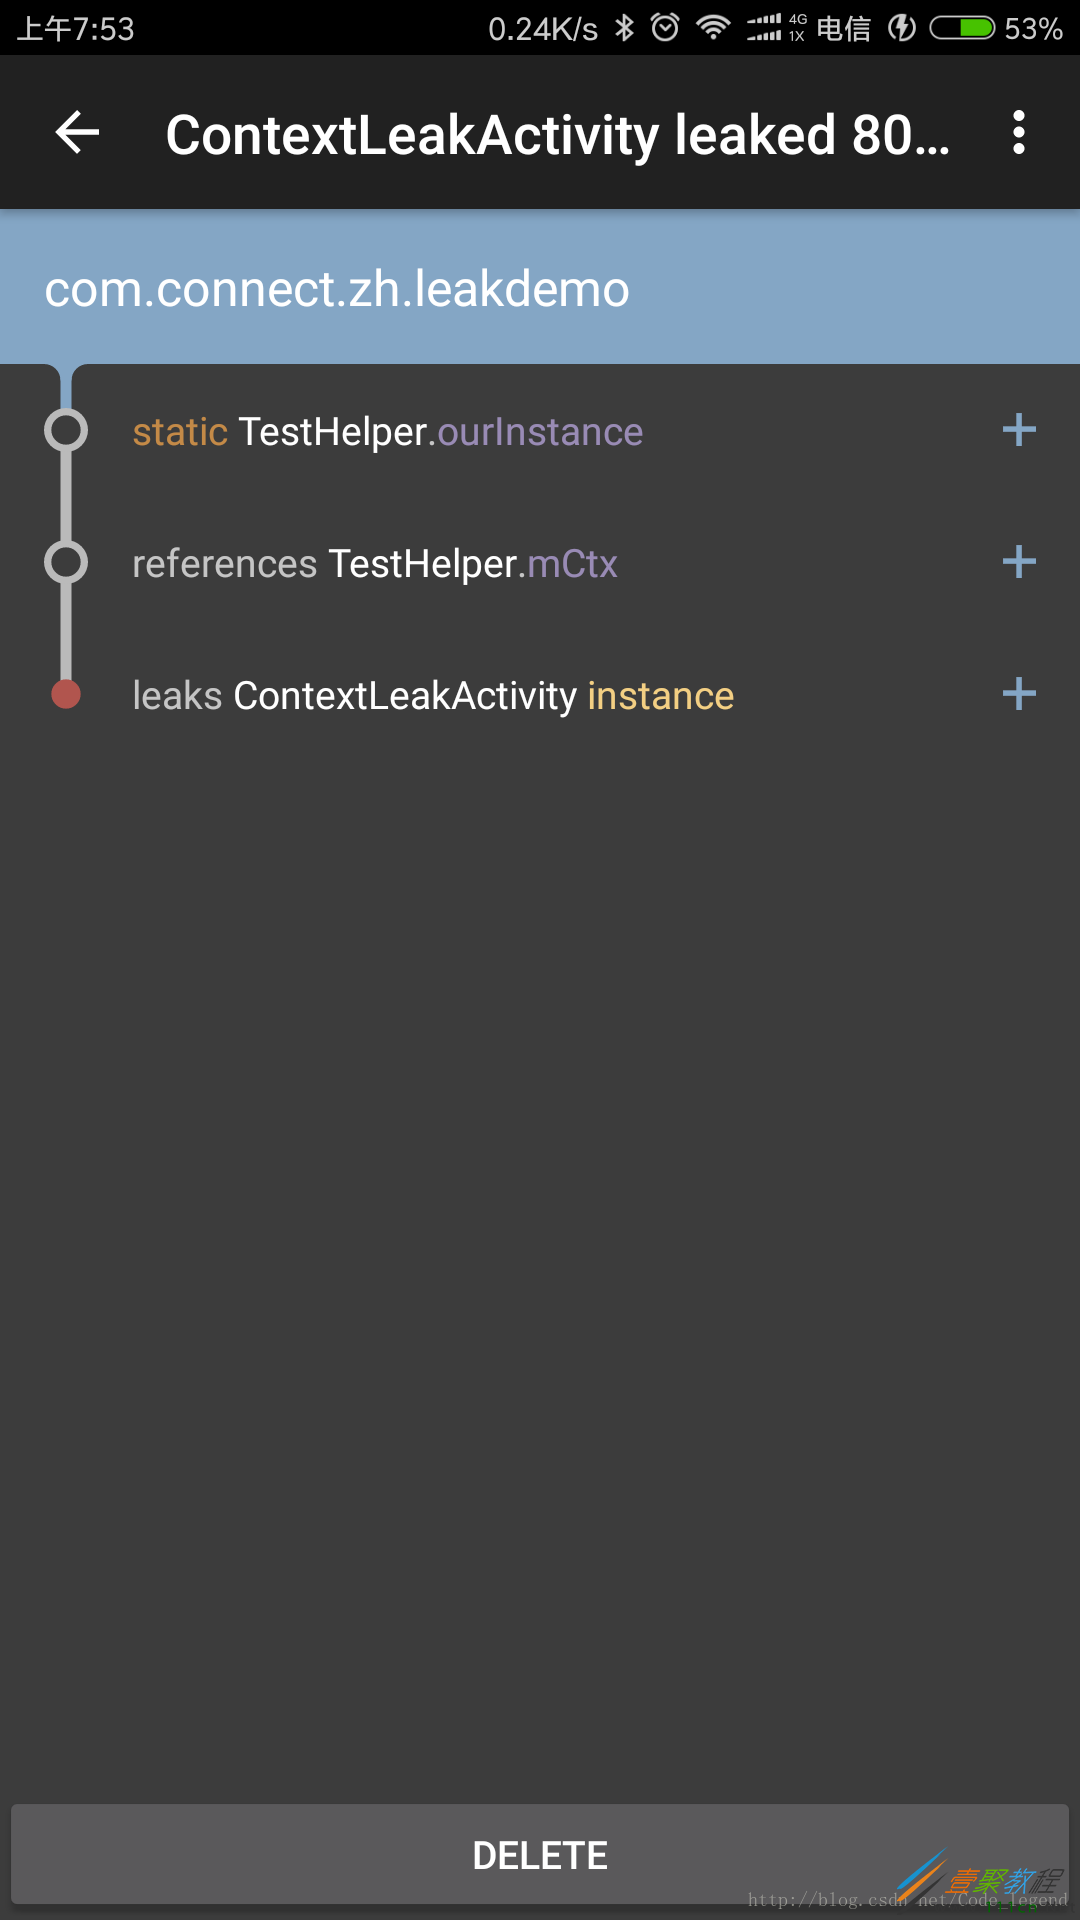
然后我们在Activity中调用它,其实很多时候我们都会犯这样的错误。造成这样错误的原因很简单,就是这个 ContextLeakActivity 不在了之后, TestHelper 依然会 hold 住它的 Context 不放。这样就造成了内存泄漏。
public class ContextLeakActivity extends AppCompatActivity{

   private TestHelper mTestHelper;
  @Override
  protected void onCreate(@Nullable Bundle savedInstanceState) {
    super.onCreate(savedInstanceState);
    setContentView(R.layout.activity_main);
    //这里容易引起内存泄漏
    //我们在 ContextLeakActivity 里获取 TestHelper 实例时因为传入了 MainActivity 的 Context,
    // 这使得一旦这个 Activity 不在了之后,
    // TestHelper 依然会 hold 住它的 Context 不放,而这个时候因为 Activity 已经不在了,所以内存泄露自然就产生了。
    mTestHelper=TestHelper.getInstance(this);
    //避免内存泄漏的写法
    // mTestHelper=TestHelper.getInstance(this.getApplication());
  }
}
Context 内存泄漏提示图
2 Broadcast引起的内存泄漏: 当我们注册过BroadcastReceiver之后,却没有在Activity销毁之后,把BroadcastReceiver释放,就很容易引起内存泄漏,所以要在onDestroy()中销毁BroadcastReceiver。
销毁代码如下
@Override
  protected void onDestroy() {
    super.onDestroy();
    getLocalBroadcastManager().unregisterReceiver(mExitReceiver);
  }
Broadcast的内存泄漏提示图
Ok,使用LeakLeakCanary很简单,但是解决有些内存泄漏确实有点麻烦,但是不论什么样的内存泄漏,最关键的一点就是:在生命周期结束之前,把对象销毁即可。如果感觉我的文章对您有用,请给个喜欢,谢谢
相关文章
- 射雕静修怎么收集 射雕静修收集方法 04-19
- 原神赤月之形等级突破材料一览 原神仆人阿蕾奇诺专武需要哪些材料 04-19
- 元气骑士前传星界使者职业怎么样 元气骑士前传星界使者职业介绍 04-19
- 射雕飞瀑石怎么收集 射雕飞瀑石收集方法 04-19
- 星露谷物语如何扩大背包容量 04-19
- 大掌门2卓羽如何搭配 04-19